Twine at startup
Download Twine here. This tutorial is about Twine 1.4. Twine 2.0 is great, but it's still in beta!
A Twine game is made from "nodes" (or "passages"; in fancy hypertext terms, we'd call these "lexia") and links between them. The application's interface represents each node as a box, and links between nodes as arrows from one box to another. This is helpful for understanding and keeping track of the structure of your game.
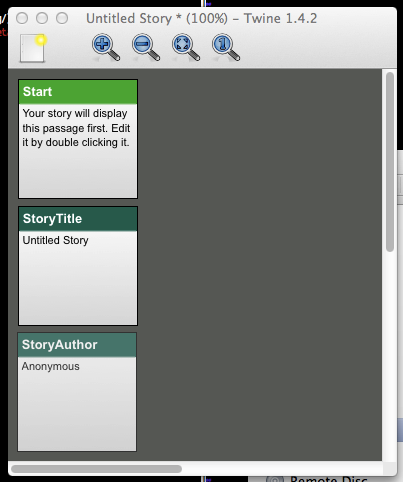
When you start Twine for the first time, it looks something like this:
Twine at startup
The "Start" passage is where your story will begin. Double click on it to edit the passage. Start with something like this:
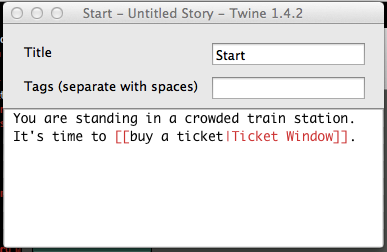
Start passage
The weird text in the [[ and ]] is a link. The text to the left of the pipe character (|) is the text of the link, and the text to the right of the pipe character is the name of the passage you want to link to.
We haven't made any other passages, however. When you close the window that allows you to edit the passage, Twine will helpfully ask you:
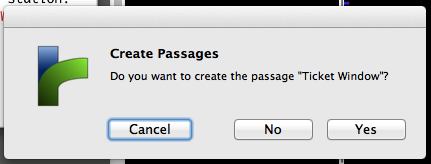
Do you want to?
Click "Yes." Now your story looks like this:
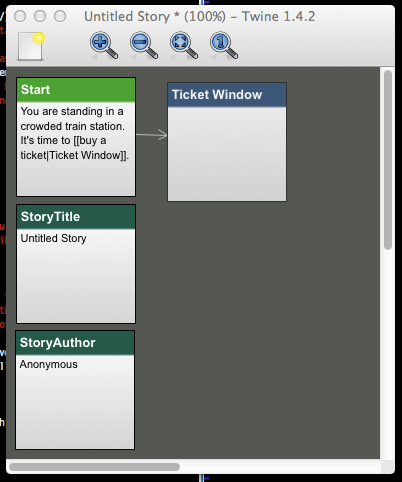
Two passages
Now you can double click on the new passage to add some text. You can add links in here as well:
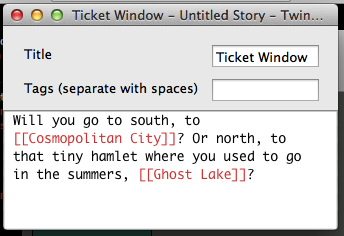
At the Ticket Window
When you close this window, Twine will once again ask to create the passages that you've referenced. Click "Yes." Note that if you don't include a | in your link, Twine will assume that the text of the link is also the name of the passage that you want to link to. Now your story should look like this:
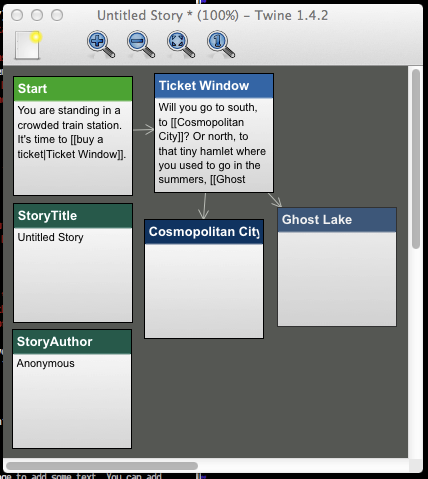
Four passages! Wow!
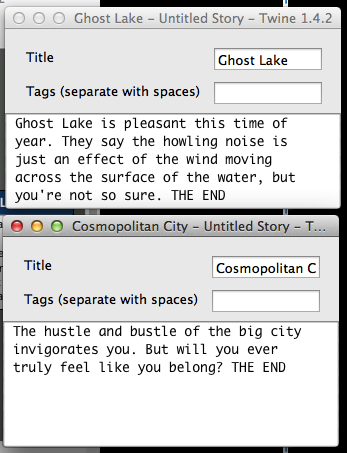
Now go back and add some text for the new links you created.
Editing passages
Now we have enough stuff that we might actually want to play the game we've made. To do this, go to Build > Test Play in the menu. Your game should come up in your browser:
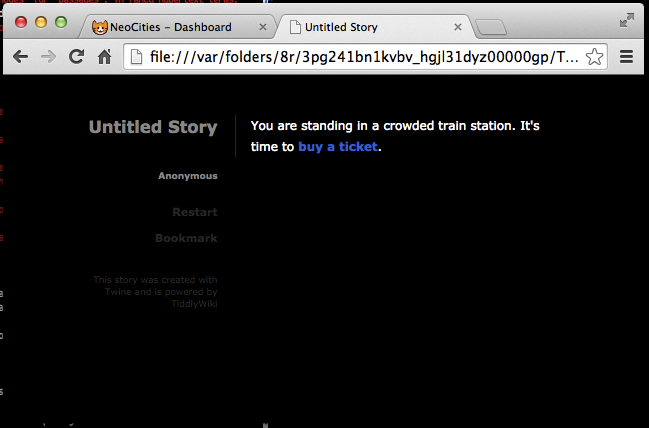
Testing our twine
You can also start the game from an arbitrary passage by ctrl+clicking (or right-clicking) on the passage in the Twine editor and selecting "Test Play from Here." This is helpful when you want to test just a small part of your game and not the whole thing.
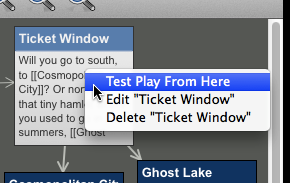
Test play from here
You can delete a passage from your Twine by ctrl+clicking (or right-clicking) on a passage and selecting "Delete." Any passages that link to the passage you just deleted will show a tiny '!' icon to show that they have a broken link:
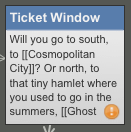
Broken link
You might have noticed that there are two weird "passages" already in our game, called StoryTitle and StoryAuthor. These passages aren't a part of the game itself; they're special passages that Twine uses for a special purpose, which is to let you specify the name of your game and the name of its author (respectively). Edit these passages like this (using your own title and name, of course):
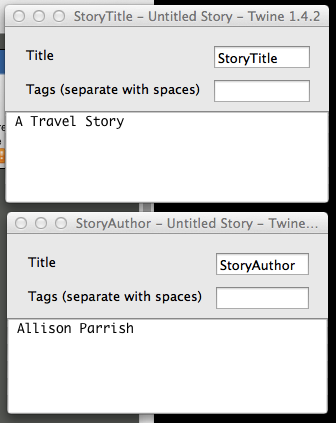
Title and author
Now your test play should reflect the new information:

Title and author: success!
At this point, you might want to actually save your work. Go to File > Save and pick a file name. (You should do this often! The Twine application is kind of crashy.)
The file you create when you "Save" is a .tws file, which is a kind of file that Twine needs to store all the information in your game, along with information like the position of the nodes in the GUI.
If you want to share your game with other people, you need to "build" it as HTML. Do this with Build > Build Story... This step will create an actual HTML file. You can upload this file wherever you want (including your Neocities account), and anyone with a web browser can play it!
It's easy to add an image to your Twine story. Just find an image on the Internet or on your computer and drag it into your Twine game window, like so:
Adding an image
(Make sure you're only using images that you have permission to use!)
Adding an image creates a new "passage" in the story. You can't link to this passage directly, but you can use it to include the image another passage, with special syntax that looks like this:
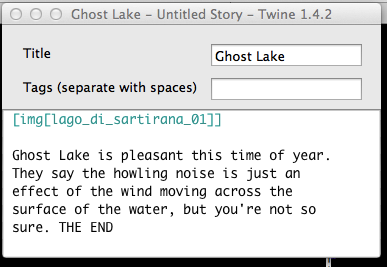
Embedding an image
The syntax works like this:
[img[image_name]]... where "image name" is the name of the image you want to include. The image's name is the string of characters you see at the top of the image's "passage":
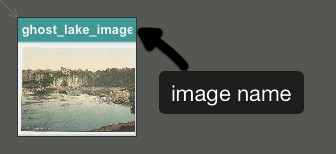
Iamge name
If you dragged the image in from a folder on your computer, or from the web, it might have a weird and incomprehensible name that you don't like. Fortunately, you can change the image name if you want; just double-click on the image passage, and then edit the "Title" field:
Change image name
If you change an image's name, though, you'll have to go back and fix all of the passages where you embedded the image.
Twine has its own "markup" language, similar to MediaWiki's markup language. You can include HTML in your Twine passages. FIXME You can review the markup language here.
But Twine also allows you to embed arbitrary HTML inside of your passages. When Twine seens something that looks HTML, it just passes the HTML right through into the web browser. This includes inline CSS styles and <style> tags. You can use your HTML skills to create interesting layouts, like so:
(to be continued!)